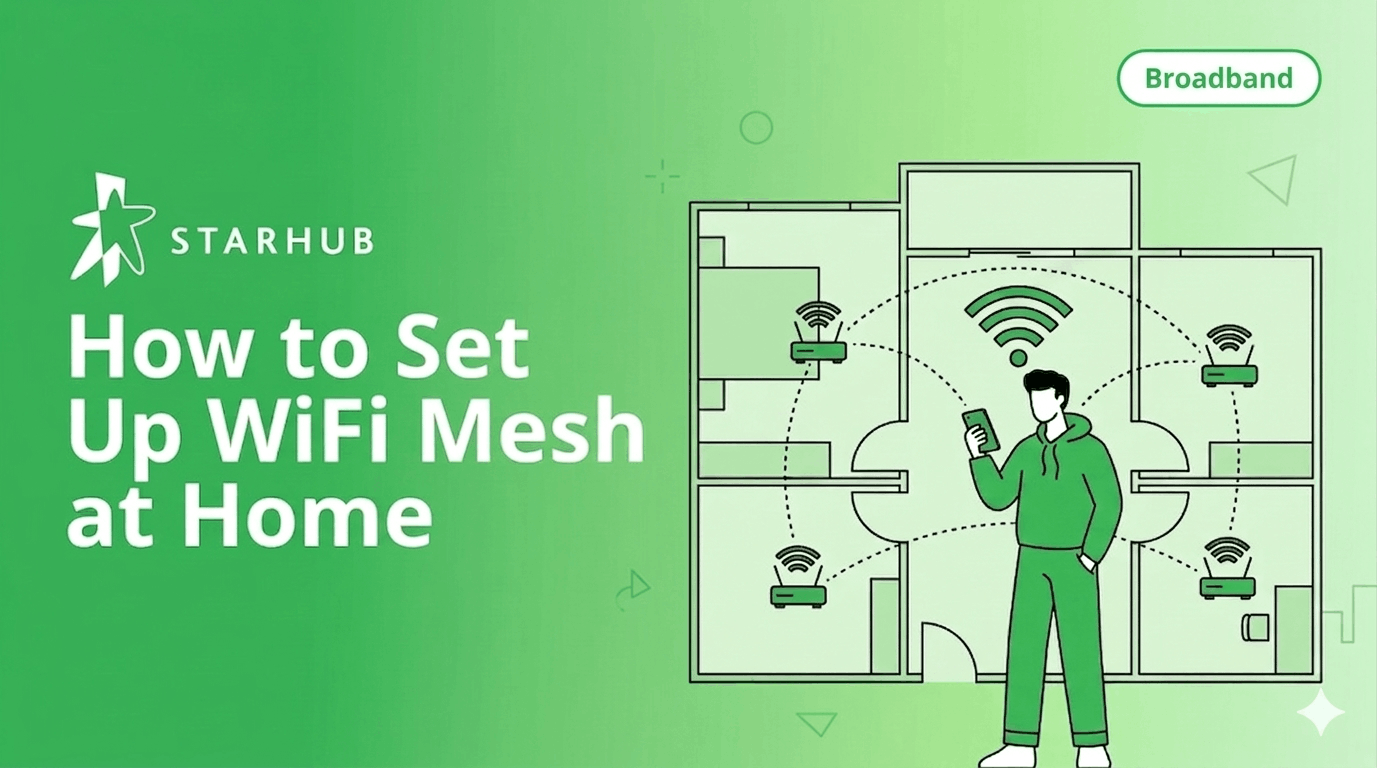
How to Set Up WiFi Mesh at Home: Complete Guide
WiFi mesh systems use multiple nodes to blanket your home with one strong, seamless network. This guide explains how mesh works, compares it against extenders and access points, and walks you through setup step by step.
In This Guide
Understanding Your Options
- What is a WiFi extender?
- What is WiFi Mesh and how does WiFi Mesh work?
- What is a WiFi access point?
WiFi Extender vs WiFi Mesh vs Access Point
- Full side-by-side comparison
- Which one should you choose?
How to Set Up WiFi Mesh?
- How many mesh routers do I need?
- Where to place mesh nodes for best coverage?
- How to set up mesh WiFi step by step, including how to connect mesh to your existing router?
Check and Fix
- Setup checklist and common problems with fixes
Weak WiFi in the Bedroom?
Here's Why It Keeps Happening
You're on a video call in your master bedroom and the screen freezes. You walk to the living room and everything works fine. Back to the bedroom, it drops again. Your phone says it's connected and the password is right, but nothing loads. This happens in most Singapore HDB and condo homes because the router sits near the front door, and the signal has to fight through two or three walls of steel-reinforced concrete to reach the rest of the flat.
💡 3 Ways to Fix It
There are 3 technologies built to solve this: WiFi extenders, WiFi Mesh systems, and wired access points. They all extend your coverage, but in very different ways. This guide explains each one, compares them side by side, then walks you through setting up WiFi Mesh from scratch.
3 Technologies, 3 Different Approaches
The right choice depends on your home size, whether your flat has ethernet cabling, and how much setup complexity you're willing to take on.
WiFi Extender
Plugs into a wall outlet and rebroadcasts your router's signal further into your home.
Best for one dead spot
in a small flat
WiFi Mesh
Multiple nodes create one seamless network. Your devices roam automatically between rooms.
Best for 3-room flats
and larger
Access Point
Wired to your router by ethernet cable. Maximum speed with zero wireless overhead.
Best for BTO flats
already wired for ethernet
What Is a WiFi Extender?
A WiFi extender, also called a booster or repeater, picks up your router's existing signal and rebroadcasts it further into your home. It plugs into any wall outlet and creates a 2nd, separate WiFi network with a different name, so your phone does not switch to it automatically. You have to manually connect as you move into the extended area.
Works well when...
You have one specific dead spot and the rest of your home is fine
You live in a studio or 2-room flat
Budget is tight and speed in that spot is not critical
Worth knowing...
Speed drops by ~50% as the extender splits its bandwidth
Manual network switching every time you move rooms
Interferes with nearby devices like microwaves/monitors
Hard to place correctly between router and dead zone
Video calls stutter as phone switches between networks
💡 Can you use more than 1 WiFi extender?
You can, but the problems multiply. A second extender means a third network name, more manual switching, and more interference. If you find yourself thinking about a second extender, that's the sign to switch to WiFi Mesh instead.
What Is WiFi Mesh?
WiFi Mesh is a home networking system where 2 or more units, called nodes, work together to broadcast 1 WiFi network across your entire home. 1 node connects to your broadband modem and acts as the router. The others sit in different rooms, each picking up where the last one left off so the signal stays strong everywhere, even behind Singapore's steel-reinforced concrete walls.
💡 The Key Difference from an Extender
1 WiFi name. 1 password. Your devices switch between nodes automatically as you move room to room. No manual switching, no dropped calls, nothing to do on your end.
How Does WiFi Mesh Work?
Think of it like a relay team. The main node connects to your internet modem by cable. The satellite nodes spread out around your home, each talking to the nearest node, not directly to the main router.
With a regular router or extender, every device has to reach back to one point. The further you are, the weaker the signal. With WiFi Mesh, the node in your bedroom only needs to talk to the node in the hallway, which talks to the main node in the living room. The distance each signal travels is short, so the strength stays high.
Who Needs WiFi Mesh?
🏠 3-room flats and larger
Concrete walls between rooms block signal. A single router rarely covers an entire flat reliably.
👨👩👧 Multiple people online
Streaming, gaming, and video calls in different rooms. Each device connects to its nearest node.
😤 Frustrated by extenders
Tired of switching networks? WiFi Mesh replaces the whole mess with one network, everywhere.
💡 Why Singapore homes need WiFi Mesh more than most?
HDB and condo walls are steel-reinforced concrete. A router delivering 300 Mbps at 2 metres typically drops to under 50 Mbps after passing through just 2 of these walls. For homes with 3 or more rooms, WiFi Mesh is the baseline for reliable coverage.
What Is a WiFi Access Point?
A WiFi access point (AP) connects to your router by ethernet cable and broadcasts WiFi from that fixed spot. Data travels by wire all the way to the AP, then wireless only for the last short hop to your device. This gives APs the highest possible speed and lowest latency of the 3 options, but it requires ethernet cabling already in your walls.
Works well when...
Your BTO flat already has ethernet ports in each room
You want the absolute fastest speeds in every room
You're comfortable with manual network configuration
Worth knowing...
Requires ethernet cable runs; installation costs can add up
No smartphone app; setup is manual via admin pages
Device roaming is less seamless than WiFi Mesh
WiFi Mesh vs Access Point: Which Is Better?
For most Singapore homes, WiFi Mesh is the better choice. Access points give faster raw speed but require cabling and technical setup. WiFi Mesh gives you great coverage and speed with app-guided setup and seamless roaming, without needing a single cable in the walls.
💡 Best of Both Worlds
Most WiFi Mesh systems support wired backhaul. If your BTO flat already has ethernet ports in each room (standard since around 2014), plug every mesh node into the wall port. You get access-point-level speed with the convenience and app management of WiFi Mesh.
Check StarHub's WiFi 7 routers for EasyMesh-compatible options.
WiFi Extender vs WiFi Mesh vs Access Point
All 3 options fix dead zones. Here's how they compare on the things that affect your daily experience.
Which One Is Right for You?
Get a WiFi Extender
Best if you have one dead spot in a studio or 2-room flat where speed isn't critical. It is the lowest cost and fastest to deploy, but don't use more than one.
Get WiFi Mesh
RecommendedBest for 3-room flats or larger with multiple dead zones. Ideal for reliable streaming and working from home. Works with or without ethernet cabling in the walls.
Get Wired Access Points
Best if your flat has ethernet to every room and you're comfortable with manual setup. Offers maximum speed per room but has a steeper setup curve for non-technical users.
How to Set Up WiFi Mesh?
WiFi Mesh setup has 3 stages: figure out how many nodes you need, decide where to place them, then connect everything using the path that matches your home.
Stage 1 of 3 - Plan
How Many Mesh Routers Do I Need?
Manufacturers quote coverage figures that assume open-plan spaces. In a Singapore home with reinforced concrete walls, those numbers drop significantly. Use the table below instead.
💡 Start with 2 nodes. Walk around after setup and run a speed test in each room. Only add a third if a room is noticeably weak. Too many nodes placed too close together cause devices to switch constantly, which slows everything down.
Stage 2 of 3 - Place
Where to Place Your Mesh Nodes?
Placement matters more than quantity. A well-placed 2-node system outperforms a 3-node system hidden inside a cabinet.
📍 Keep them out in the open
A shelf or TV console at waist height is ideal. Inside cabinets or on the floor cuts signal significantly.
🧱 Follow the two-wall rule
No more than two concrete walls between any two nodes. Three walls is too many for a reliable wireless link.
📏 Halfway between router and dead zone
A satellite node halfway between the main node and the problem area gets the strongest signal. Don't place nodes on outside walls.
📺 Near wired devices
Most nodes have a LAN port. Place one within 2–3 metres of your TV or gaming console and plug in via ethernet.
Keep nodes at least 1 metre away from microwaves and mirrors. Microwaves share the 2.4GHz frequency and cause interference. Check our WiFi optimisation guide for more tips.
Stage 3 of 3 - Connect
How to Connect Mesh to Your Router?
Works for TP-Link Deco, Google Nest WiFi, NETGEAR Orbi, Linksys Velop, and eero. Your phone's mobile data works as the internet connection during setup. You don't need WiFi working first.
Which setup applies to you?
🏠
Path A
Replacing your router
🔌
Path B
Keeping your existing router
🔧
Path C
BTO with wall ethernet ports
Path AReplacing Your Router
Before you start: ONT must be on. Ethernet cable ready. Download the brand's app. Unplug the ONT for 30 seconds first so it assigns a fresh IP to the new node.
Plug the main node into the ONT. Connect ethernet from the ONT's LAN port to the node's WAN port. Power on and wait for the LED. Solid or slow-blinking means ready.
Open the app and create your network. The app finds the node automatically. Set your WiFi name and password. Leave band settings on auto.
Pair satellite nodes nearby first. Power them on in the same room. Once paired via the app, move them to their permanent spots.
Check the signal in each location. Green in-app or LED means strong. Amber means move it closer. Red means too far. Reposition and test again.
Speed test every room. Run Ookla Speedtest. Aim for 70–80% of your broadband plan speed. A significant drop means a node needs repositioning.
Path BKeeping Your Existing Router
Use this if your router handles IPTV or a home phone line you can't disable. After setup, turn off WiFi on the old router. Running both networks simultaneously causes devices to bounce unpredictably.
Place main node near your router. You'll run ethernet between them, so keep them close.
Connect the mesh node's WAN port to a LAN port on your router. The mesh sits behind your router in "double NAT" mode, which works fine for most home use.
Run app setup. Select "Access Point" or "Bridge Mode" if prompted. Your existing router handles DHCP; the mesh handles all WiFi.
Turn off WiFi on your old router. Disable its wireless radios only. Keep ethernet active so IPTV and VoIP keep working.
Pair satellites and test. Add remaining nodes through the app as in Path A. Speed test each room to confirm coverage.
Path CBTO Wired Backhaul
Most HDB BTO flats built since 2014 have ethernet pre-run to every room via a patch panel in the DB box. Wired backhaul means node-to-node communication runs over cable, giving full speed with zero wireless overhead.
Not sure if you're wired?
Check inside the DB box near your front door. A patch panel with multiple ethernet ports means your flat is pre-wired.
Connect main node to the patch panel. Run ethernet from the main node's LAN port into the home's patch panel in the DB box.
Plug each satellite node into the room wall port. Use the node's WAN port. Every room gets near full-plan speed with zero wireless overhead.
Confirm wired status in the app. Each node should show "Wired" or "Ethernet". If a node shows wireless, check the patch panel connections.
🛠️ Rather Not DIY?
StarHub plans include free installation by Hub Troopers. They handle the wiring, positioning, and testing. Find out more here.
What If Something Goes Wrong?
Most mesh systems pair and connect without trouble, but these 4 issues come up often enough to be worth knowing about before they happen.
✕ A satellite node won't pair
Move it right next to the main node for pairing, then relocate it once connected. If it still fails, unplug both nodes for 30 seconds, plug them back in, and try again. Check the app store for firmware updates before re-attempting.
✕ Slow speeds near a satellite
The wireless backhaul between the satellite and the main node is too weak, usually because there are too many walls in between. Move the satellite closer, reducing the wall count to 1 or 2. If your home has ethernet ports, switching to wired backhaul fixes this immediately.
✕ Devices won't roam between nodes
The most common cause: your old router is still broadcasting WiFi alongside the mesh system, so your devices bounce between the 2 networks. Disable WiFi on the old router entirely and let the mesh handle everything. If you still need the old router for IPTV or VoIP, keep it connected but turn off its wireless radios.
✕ Main node overheats in the DB box
The DB box is small and enclosed, and routers generate heat. If your node gets hot and starts dropping connections, move it out of the DB box to an open area like the TV console. Run an ethernet cable from the ONT (which stays in the DB box) to the node's new location, and leave the DB box door slightly open for airflow around the ONT.
Frequently Asked Questions
A mesh extender is a satellite node in a WiFi Mesh system: the unit you place in a second or third room to extend the network. Different brands use different names. NETGEAR calls them satellites, Google calls them points, TP-Link calls them Deco units. They all work the same way. A mesh extender shares the same network name as the main node, uses a dedicated backhaul band, and enables seamless roaming. This is different from a traditional WiFi extender, which creates a separate network, cuts speed by roughly half, and requires manual switching.
No, not if the system is set up correctly. A tri-band WiFi Mesh system reserves one band entirely for node-to-node backhaul, so the bands your devices use stay clear. The scenario where mesh slows things down is when nodes are placed too far apart. Weak wireless backhaul is the speed killer, not the technology itself.
Yes. The main mesh node takes over the job of your router. Connect it to your ONT and it manages the entire network. Switch off your old router or disable its WiFi radios to prevent interference. If your old router handles IPTV or a home phone line, keep it connected but turn off its wireless radios only.
No more than two rooms apart, or roughly 30 feet (9 metres) in a straight line. In Singapore homes with concrete walls, keep to a maximum of two walls between any two nodes. The app's signal test or the node's LED will tell you. Amber or red means move it closer.
For studios and 2-room flats, a single good router is usually enough. WiFi Mesh makes a real difference in 3-room flats and larger, where the signal must pass through multiple concrete walls. Even a WiFi 6 router struggles to cover a 5-room HDB reliably. Singapore's reinforced concrete reduces effective range significantly compared to the open-plan layouts most specs assume.
WiFi 6 handles most homes well and costs less. WiFi 7 adds a 6GHz band with less interference and higher throughput per device. If you're on a 5Gbps or 10Gbps broadband plan and want to future-proof, WiFi 7 is worth it. For most households on 1Gbps plans, WiFi 6 is more than sufficient.
It depends on your home. WiFi 6 has a rated range of around 107 sqm in open conditions, roughly a 5-room flat. In practice, Singapore's concrete walls and furniture reduce that significantly. If your router already covers every room, you don't need mesh. If bedrooms are still weak, a WiFi Mesh node fixes what the router alone can't reach. For multi-storey homes, mesh is almost always the right answer.
Yes. Connect the main mesh node's WAN port to a LAN port on your StarHub router, disable the router's WiFi radios, and run the mesh app setup. Alternatively, StarHub's WiFi 7 routers support EasyMesh, so you add compatible mesh nodes directly without needing a separate main mesh node.
For reliable performance, yes. While the EasyMesh standard allows different brands to work together in theory, mixing brands typically means losing seamless handoff, smart traffic routing, and unified app management. Stick to the same brand and product line.
Yes. WiFi Mesh systems broadcast standard 2.4GHz and 5GHz bands that all WiFi-capable devices connect to regardless of age. Older devices won't use WiFi 6 or WiFi 7 features, but they connect and work normally. You don't need to replace your devices to benefit from better coverage.
Get the Most from Your Fibre Connection
5Gbps Fibre Broadband - $29.55/month
TP-Link HB710 WiFi 7 router (Tri-band BE18000), ultra seamless connection for 2-4 users
10Gbps UltraSpeed Broadband - $38.90/month
TP-Link HB710 WiFi 7 router (Tri-band BE18000), smooth 4K streaming for 4+ users and devices
Disclaimer:
This content is provided for general information and convenience. While we take care in preparing our articles, readers should refer to official sources or professional advice for specific, up-to-date details.
Related Articles
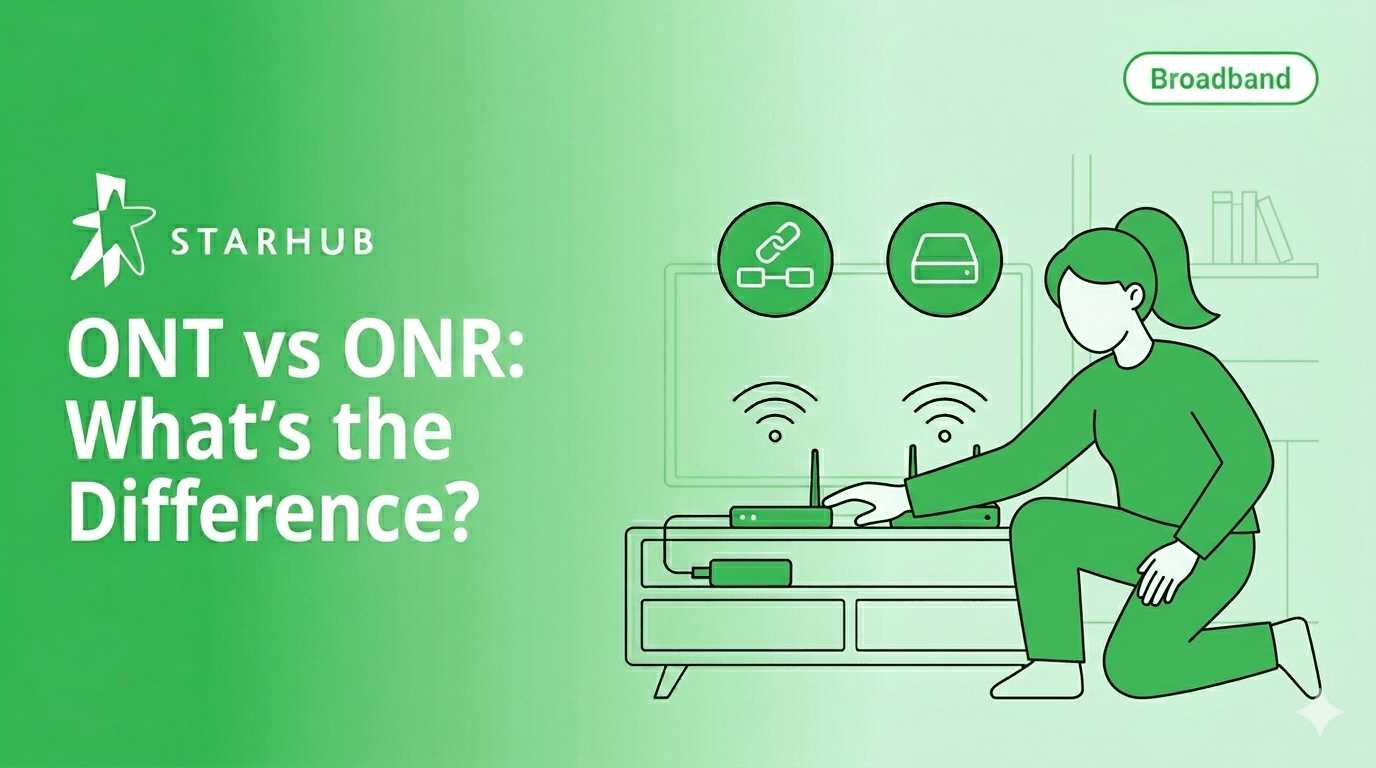
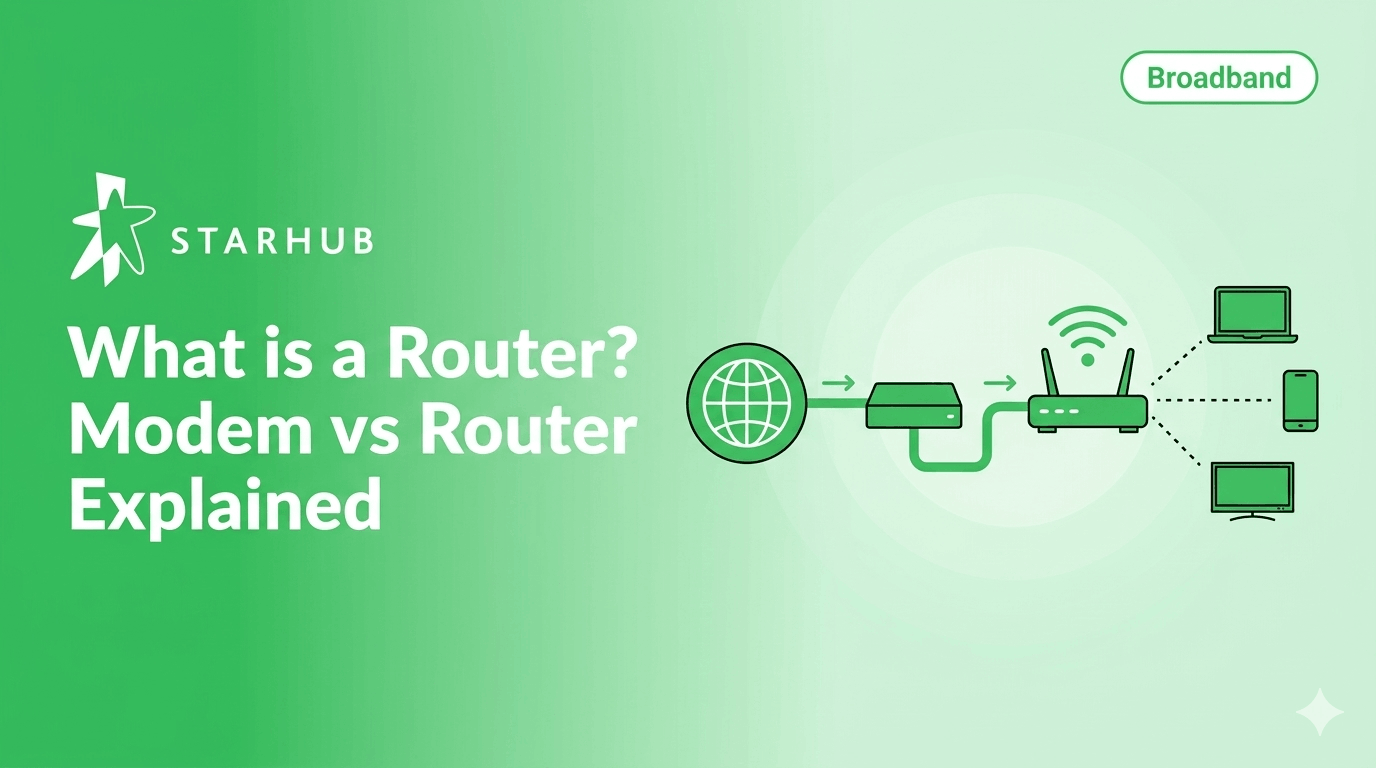
ONT vs ONR: What's the Difference?

Boost Your WiFi Strength: Coverage & Connection Tips